Guide
How to install SwapCam
5 min read · Updated
Before you begin
You need Chrome and a few minutes. Everything else — the extension itself, and the folder it lives in — comes from the download page, which also lists the full requirements. There is no account to create and nothing to configure first.
The four steps
Download
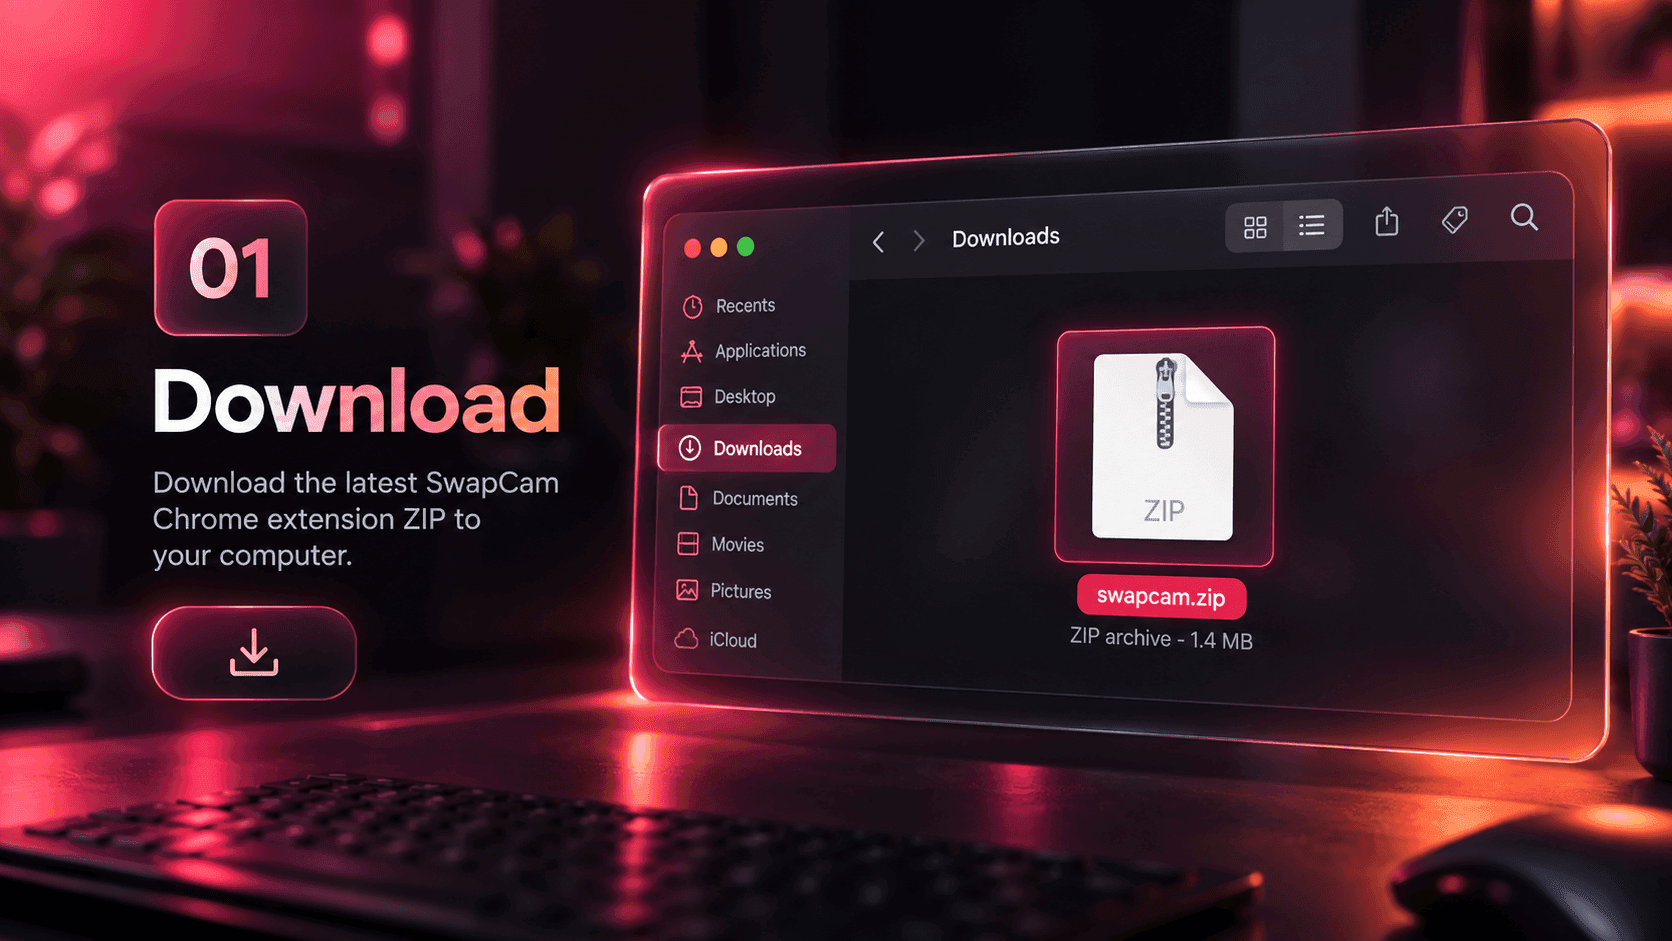
Download the latest SwapCam Chrome extension ZIP to your computer.
- Why this step
- The ZIP is the extension itself. There is no installer, and nothing is written outside the folder you choose — which is also why removing SwapCam later is just a matter of deleting it.
- What you should see
- A single file named swapcam.zip in your Downloads folder. Chrome may warn that the file type can harm your computer, which it shows for every ZIP; keep the file.
- Where it usually goes wrong
- If the download does not start, check whether a download blocker or your browser's protection settings intercepted it.
Extract
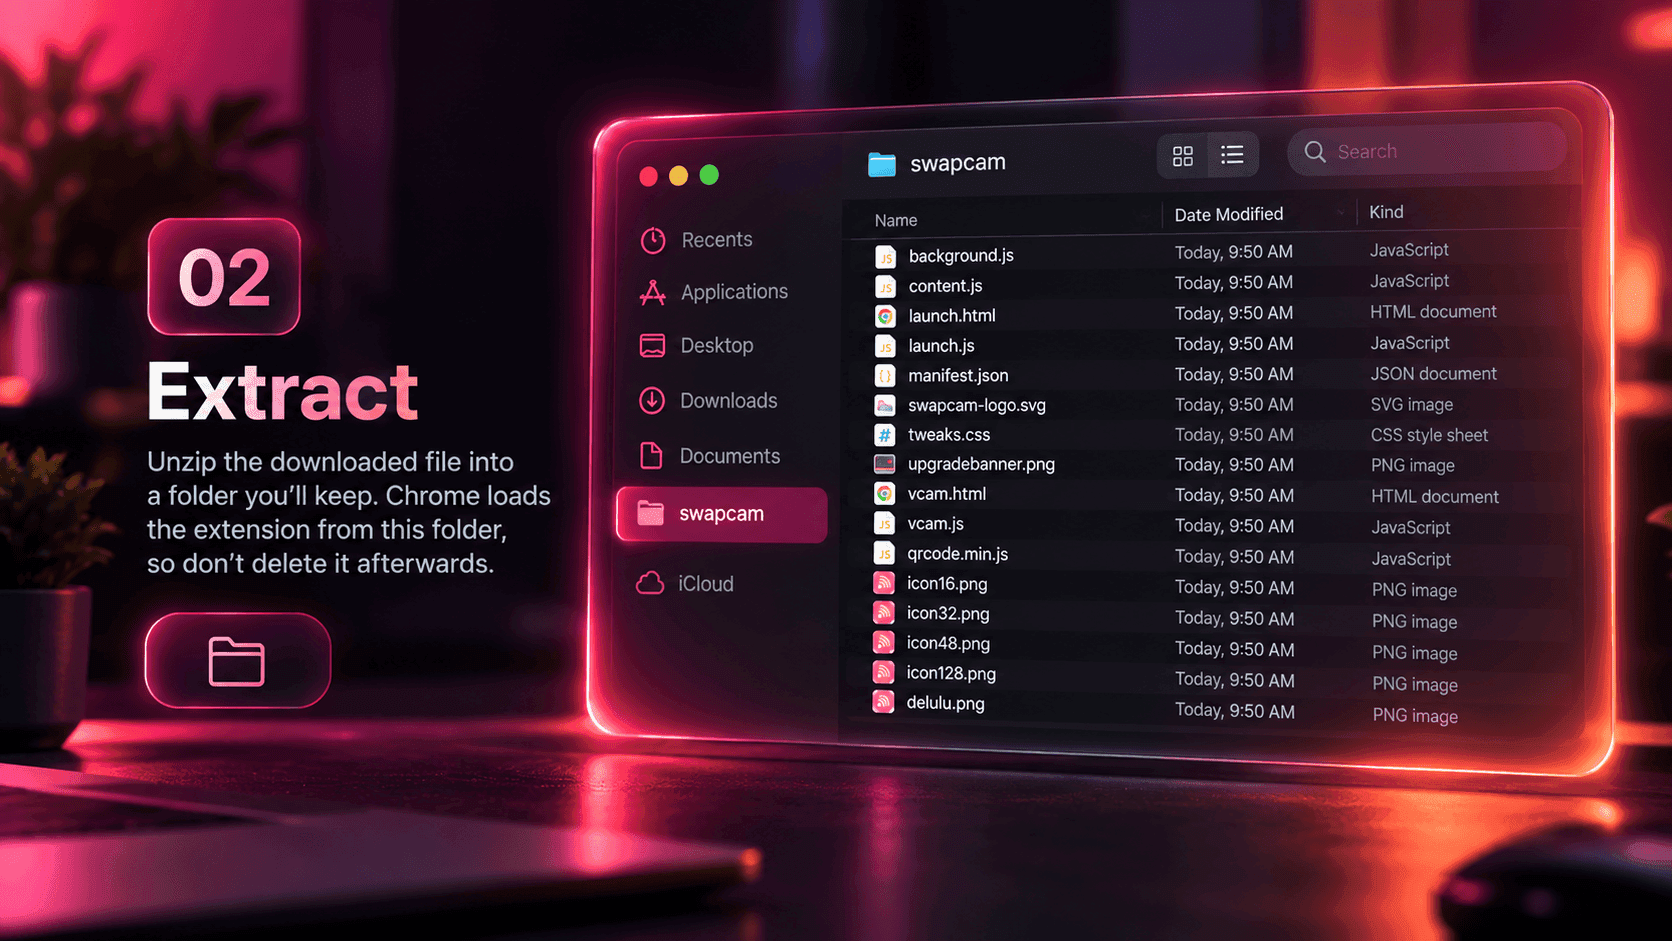
Unzip the downloaded file into a folder you'll keep. Chrome loads the extension from this folder, so don't delete it afterwards.
- Why this step
- Chrome cannot load an extension from inside a compressed archive. It needs the real files on disk, which is what extracting produces.
- What you should see
- A folder containing a manifest.json file alongside several other files and folders. If you see a single folder that contains another folder of the same name, go one level deeper — the folder with manifest.json in it is the one Chrome wants.
- Where it usually goes wrong
- Extracting into your Downloads folder and clearing it out later is the most common way people break a working install. Put it somewhere permanent instead.
Load unpacked
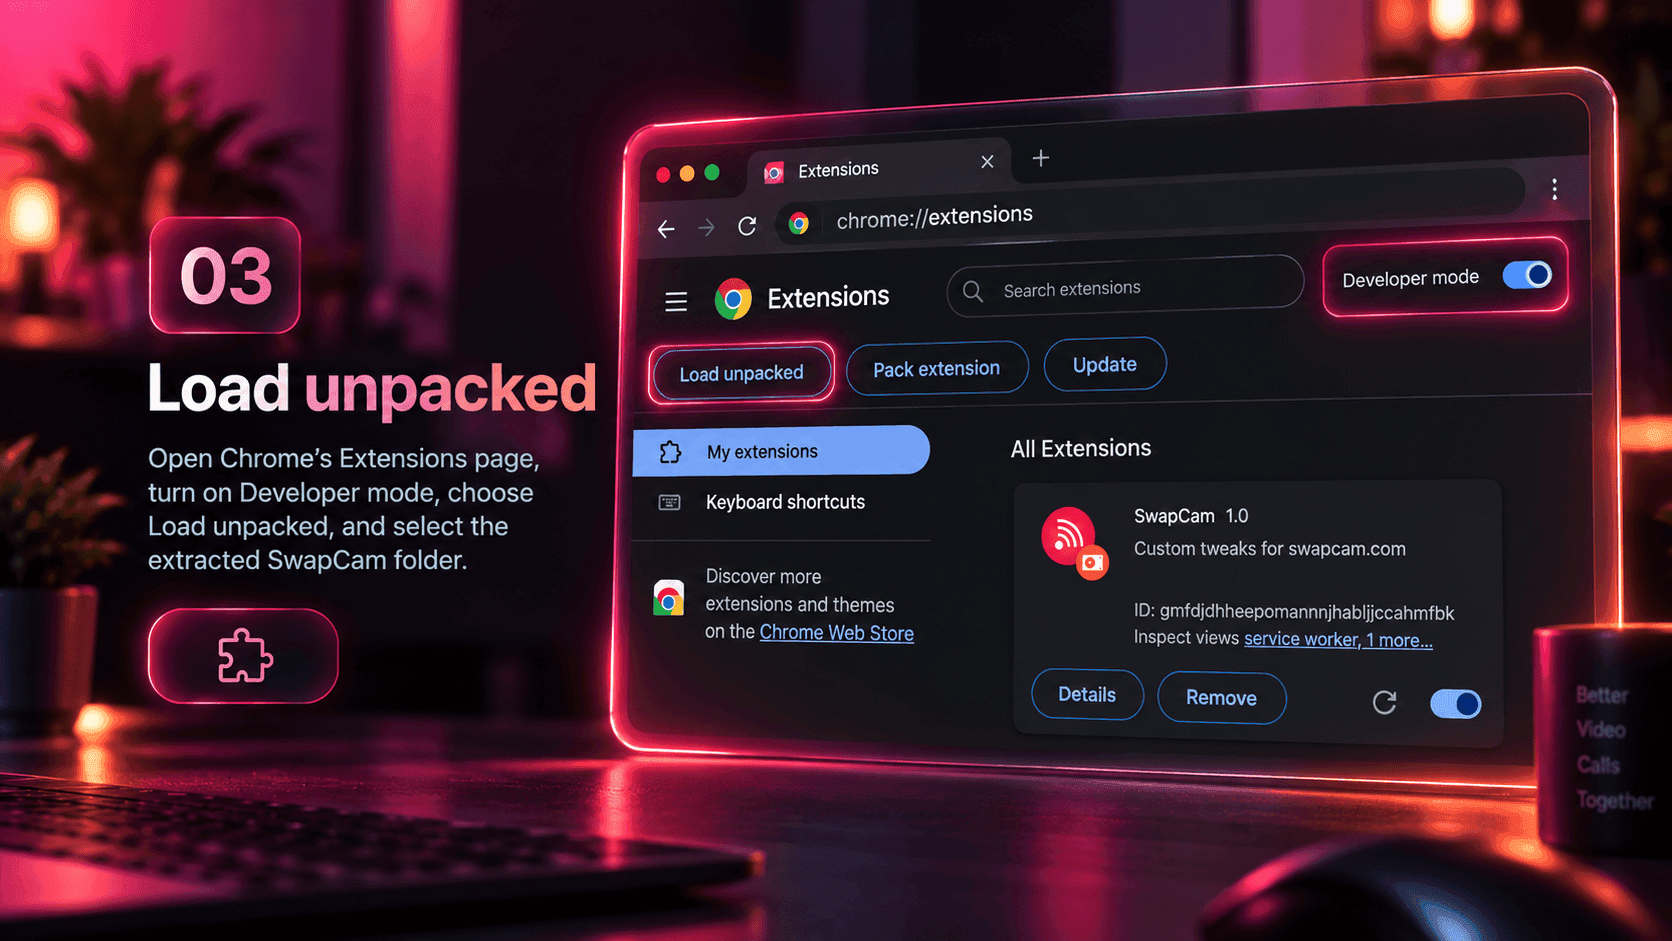
Open Chrome's Extensions page, turn on Developer mode, choose Load unpacked, and select the extracted SwapCam folder.
- Why this step
- Chrome only loads extensions from local folders when Developer mode is on. This is a deliberate safety gate, not a workaround — it exists so extensions cannot be installed from disk without you knowingly enabling it.
- What you should see
- After choosing Load unpacked and selecting the folder, a SwapCam card appears in the extensions list with a toggle that is switched on.
- Where it usually goes wrong
- An error mentioning a manifest almost always means you selected the wrong folder. Go back and pick the folder that directly contains manifest.json.
Start using
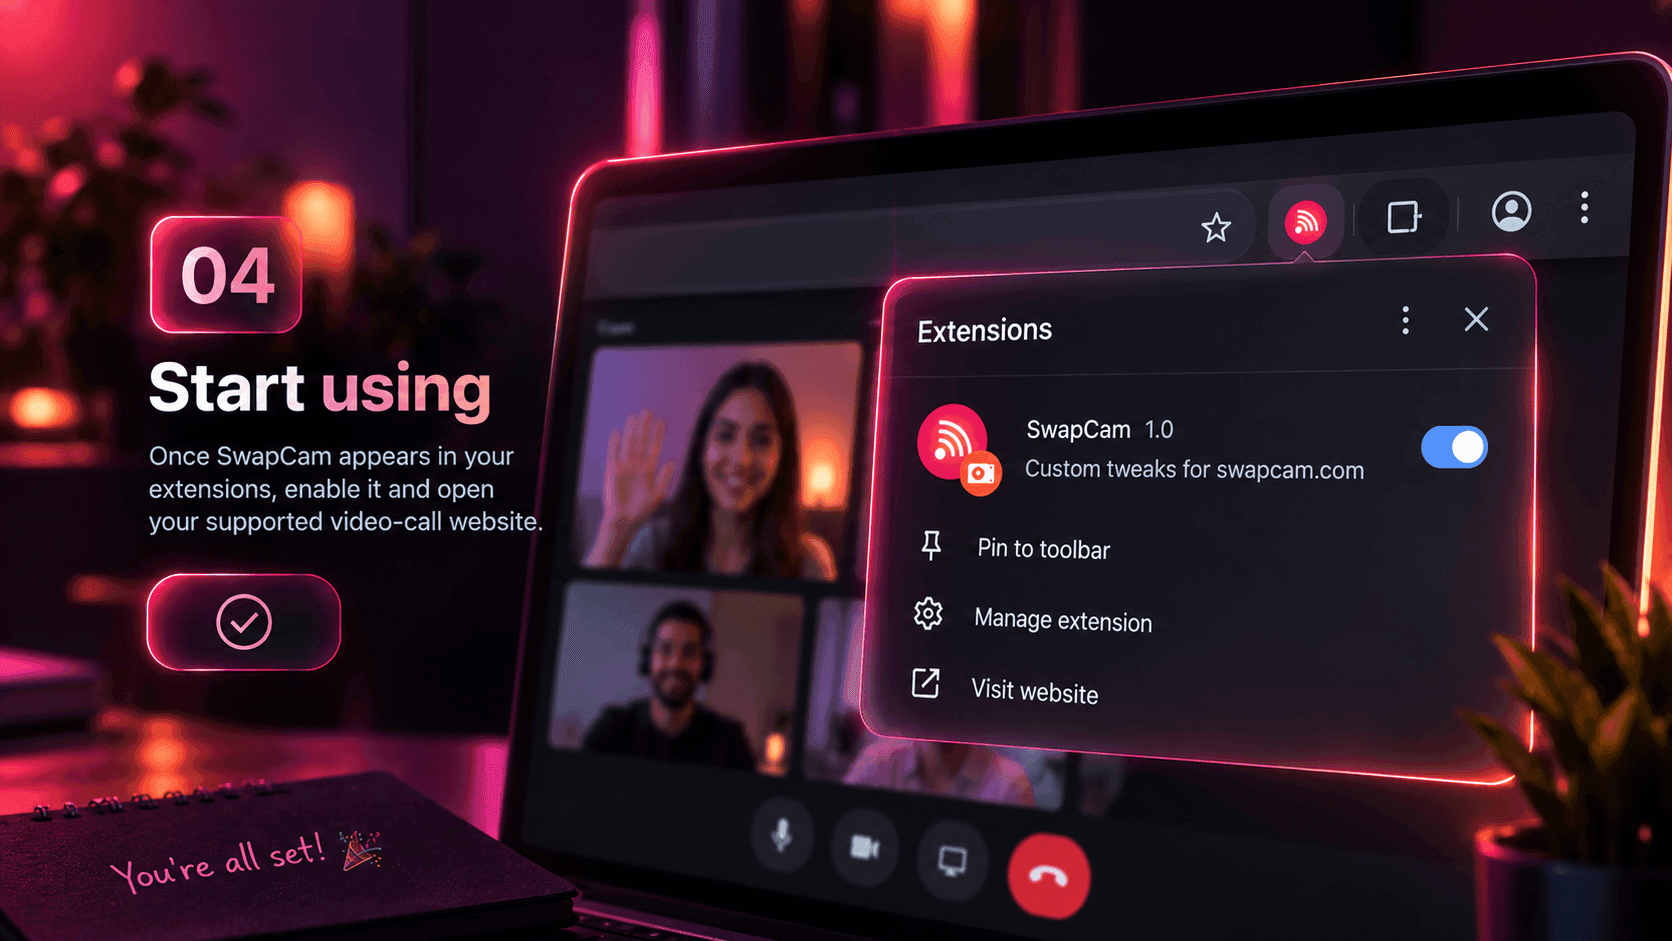
Open your supported video-call website, activate SwapCam, pick your face source, and start your call.
- Why this step
- The extension is now installed, but Chrome does not pin new extensions to the toolbar by default, so it can look like nothing happened.
- What you should see
- SwapCam listed under the puzzle-piece icon in Chrome's toolbar. Pin it from there so it is one click away.
- Where it usually goes wrong
- If a page was already open before you installed the extension, reload it. Pages enumerate available cameras when they load, and one loaded beforehand will not know SwapCam exists.
A note on Developer mode
Step three asks you to turn on a setting called Developer mode, which sounds more alarming than it is. It is simply the switch that lets Chrome load an extension from a folder rather than from the Web Store. The Developer mode guide explains what it does, what it does not do, and how to turn it back off.
Keeping it working
Chrome reads the extension from your extracted folder every time it starts, so that folder has to stay where it is. Moving it, renaming it or deleting it will break SwapCam, and the fix is to load it again from its new location.
Updating works the same way in reverse: download the newest ZIP, extract it over the existing folder, then press reload on the SwapCam card in Chrome’s Extensions page.
Removing it later
If it still will not load
Manifest errors, a missing toolbar icon, and an extension that disappears after restarting Chrome are all covered in the troubleshooting guide. Once it is loaded, the workflow guide picks up from there.